The ask, help a trainer add some animations to their presentation. Following the Power Platform Community Conference, the keynote’s main takeaway was that “Low-code (as we know it) is dead,” highlighting that low-code is shifting into another gear. Taking that as inspiration, the trainer wants to animate an element shifting between gears:
Building on an earlier ask, the trainer already knows how to build slide Transitions, but today, they’re wanting to build slide Animations. To help get them started, they navigate to the Animations area of the PowerPoint ribbon and expand the full list of available animations:

Skimming through the listed Animations. note that there are four types of animations and each type is unique. For the first three, as their names imply:
- “Entrance” is a collective of animations for an element to appear,
- “Emphasis” is a group of animations meant to draw attention, and
- “Exit” is how an element disappears.
The last type, “Motion Paths,” isn’t talked about enough, which is a shame. These are animations to move elements from point A to point B, along fixed paths. These paths can be straight, curved, angled, etc.:

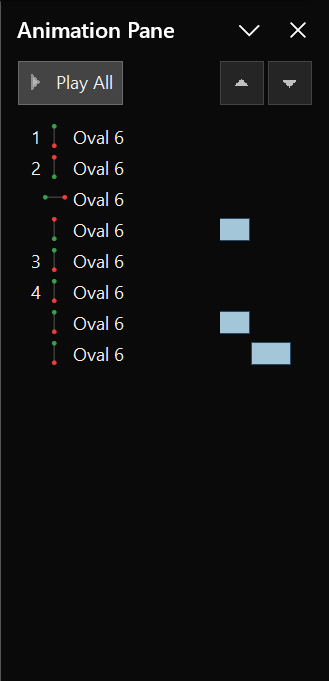
Now, because the trainer will need to work with multiple animations and chain many of them together, it’s highly recommended that they first open their Animation Pane. Just as the Selection Pane lets them view slide elements and reorder their layering, this pane lets them see all of the animations applied, respective ordering, duration speed, etc.

Additionally, after the trainer applies their first animation, every following animation should be added using the Add Animation button. This keeps them from accidentally overriding the first animation of their sequence and instead append animations to the queue:

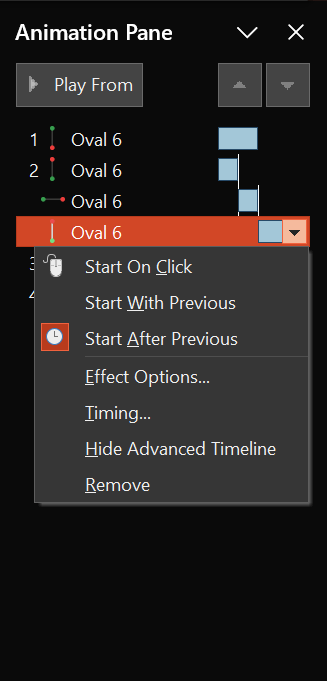
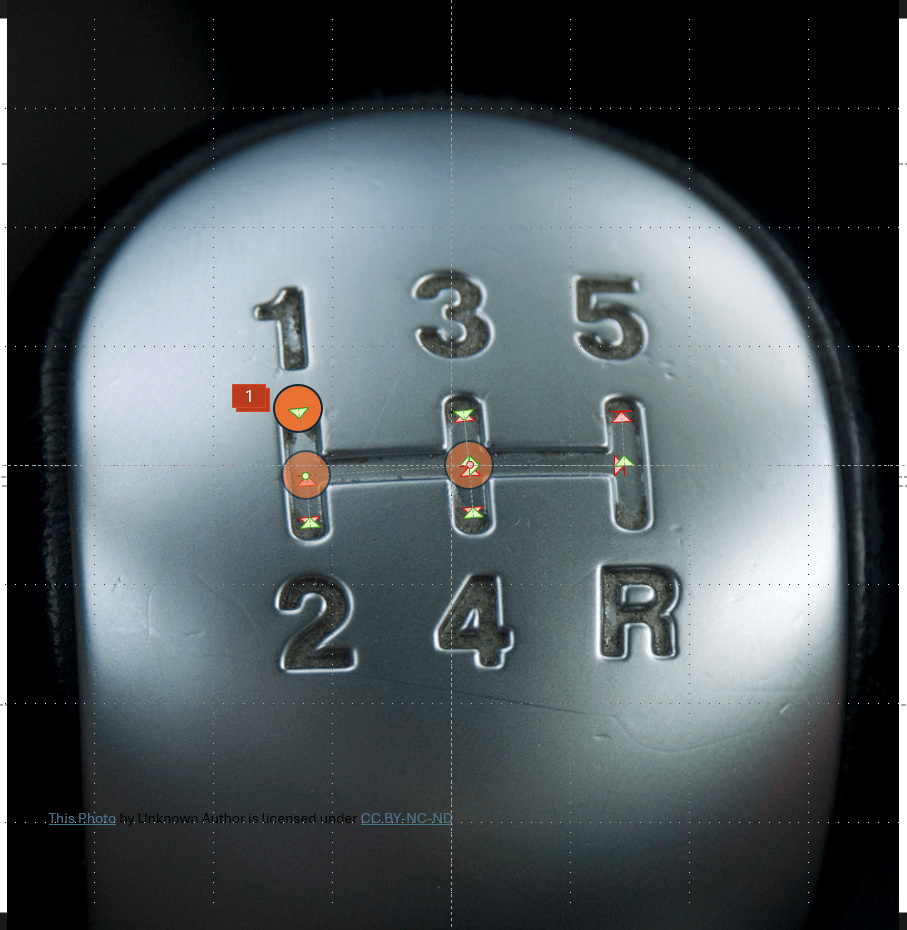
Finally, to build the animation sequence and shift the element along the image, select the element and add a series of line animations from “Motion Paths.” To chain animations together, adjust the starts to “Start After Previous” animation instead of on click.
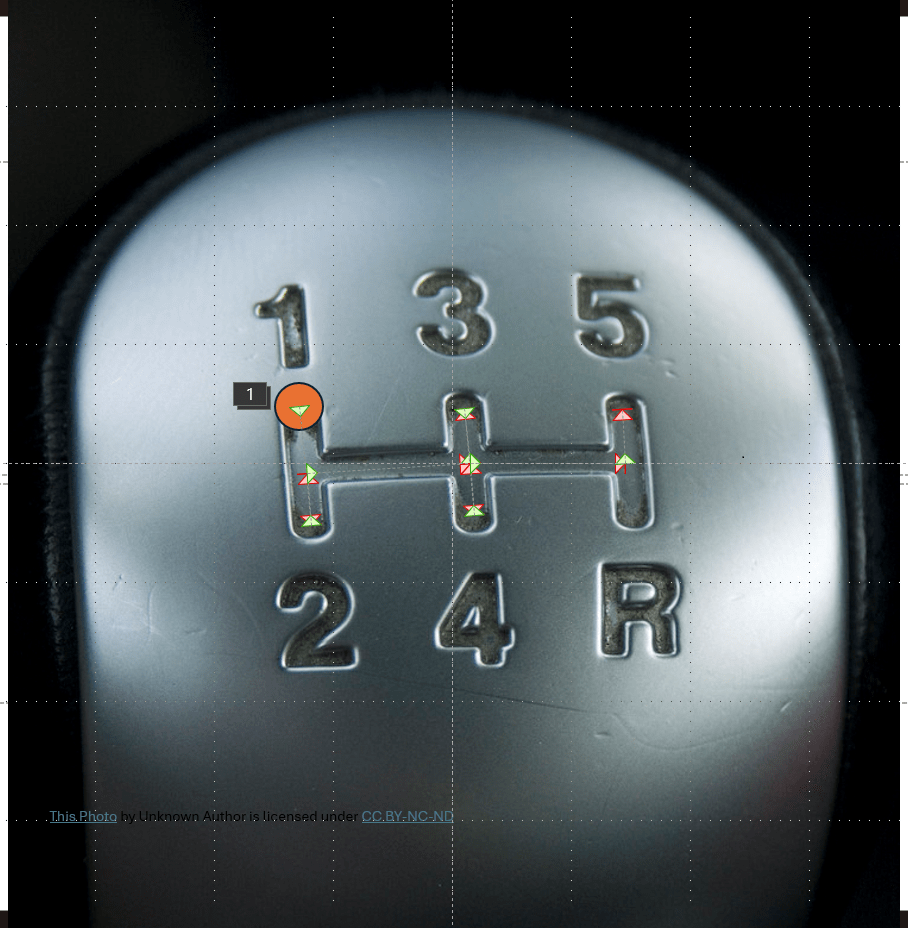
Essentially, the formula is one down line path to move the element from first gear to second gear. Shifting from second to third gear, there will be an up line, a right line, and one more up line path. Keeping this pattern going, more line paths are linked to shift to fourth, then fifth before returning back to first gear:
Lastly, with the animations added and their sequences chained, adjust the starting and stopping points of each step. Be sure to overlay their points to make the animations seamless. The method may look a bit chaotic, but the final result is an animated element shifting through the gears:
Conclusion:
PowerPoint is more capable than many people realize. And with more people asking Copilot to create decks for them, they may never truly realize how much they can do for themselves. Chaining together animations like this builds larger animations and really gives the presentation some personality.
“We must never be afraid to raise our voice for honesty and truth and compassion against injustice and lying and greed.”
John Lewis
#BlackLivesMatter

Pingback: PowerPoint: Animations + Transitions | Map Highlighting | console.log('Charles');