The Power Apps platform is great for building business solutions. Even so, does it have to be all for work? Luckily, it doesn’t. Just as business apps are created, developers could build simple games, too. For instance, designing a “Jeopardy”-esque game…
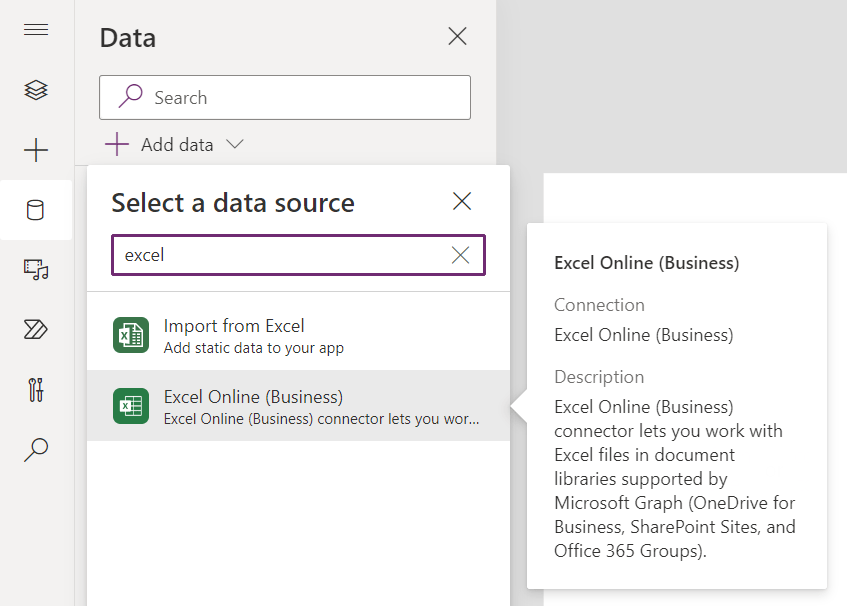
Getting started, this example uses Microsoft Excel as it’s data source. The Excel file has two tables and because the spreadsheet is stored in OneDrive, use the Excel Online (Business) connector to load them:
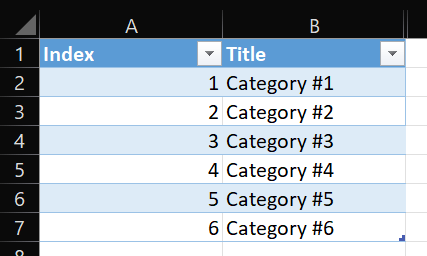
Excel data source #1 is a table of game categories. Each category has an Index value to be used as a lookup value for the table of questions. Excel data source #2 is a table of 30 question and answers, along with their respective Points and Category lookup values:

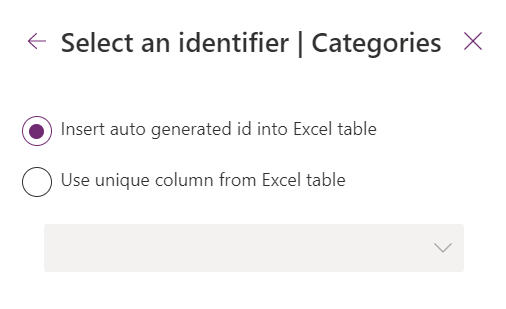
For each of the Excel tables, Power Apps is going to ask whether it should use an existing ID column or create it’s own. It doesn’t hurt to let Power Apps create it’s own auto generated id column:
Worth noting, this game shouldn’t use the table of questions as-is. Instead, these records are loaded into a collection object. Along with a few other actions, these are performed when the app is loaded:
- Initialize contestant points.
- Player #1
- Player #2
- Player #3
- Initialize empty collection object.
- listOf
- Populate collection with Questions.
- Parse Points to Int().
- Add Boolean Chosen value.
Set(vPointsOfP01, 0);
Set(vPointsOfP02, 0);
Set(vPointsOfP03, 0);

ClearCollect(
    listOf,
    {}
);

Clear(listOf);
ForAll(
    Questions,
    Collect(
        listOf,
        {
            ID: ID,
            Category: Category,
            Points: Int(Points),
            Question: Question,
            Answer: Answer,
            Chosen: false
        }
    )
);
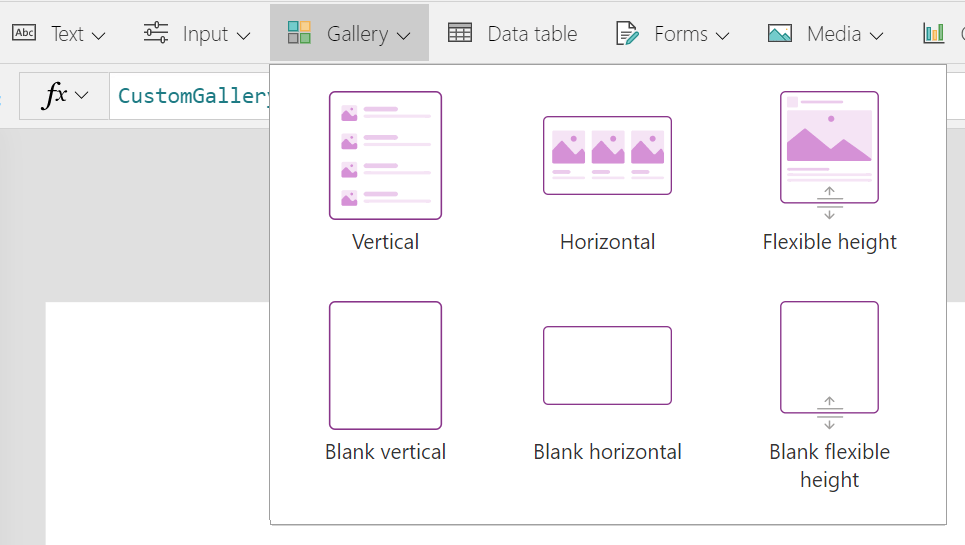
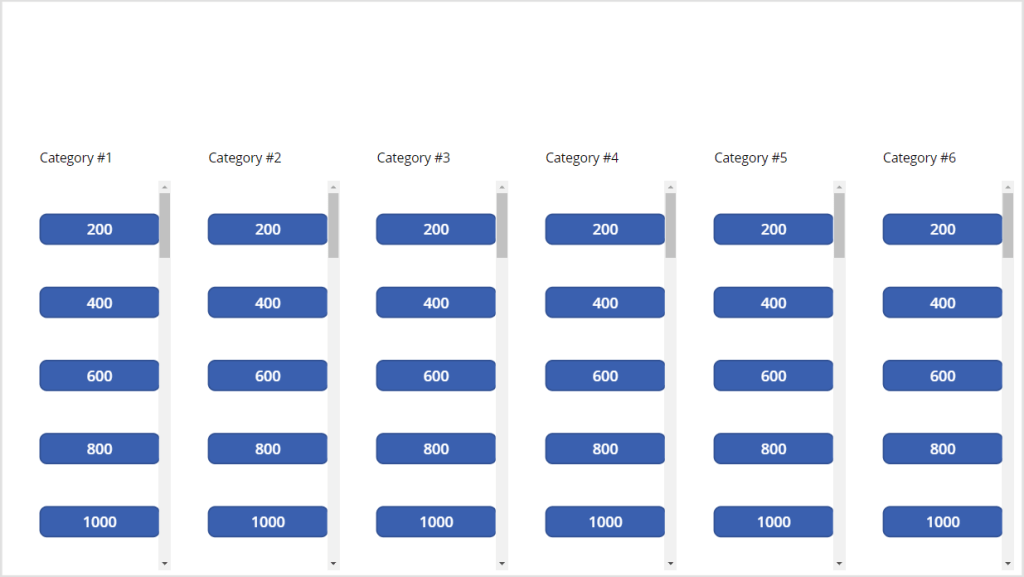
Now, with the data sources configured, start laying out the game screens. There needs to be three screens and the point board is one of them, taking advantage of nested galleries. Add a Blank horizontal gallery and bind it to the Category data source, then nest a Blank vertical gallery within it and bind the listOf collection to it:
Tweaking the galleries, add a label to the horizontal gallery control, then a button to the vertical gallery control and filter the questions. The horizontal label will display the category Title and the vertical button will display the Points value.
Filter(
    SortByColumns(listOf, "Points"),
    Category = ThisItem.Index)
Also, set the Visible property of the buttons to:
Not(ThisItem.Chosen)
Next, the OnSelect button logic is pretty straight-forward. When a point value is chosen:
- Set the question Chosen value to true.
- Navigate to the next screen and pass along two variables:
- vQuesID
- vQuesHidden
Patch(
    listOf,
    First(
        Filter(
            listOf,
            ID = $"{ Int(ThisItem.ID) }") ),
    { Chosen: true } );
Navigate(
    Screen_Question,
    ScreenTransition.CoverRight, (
        {
            vQuesID: Int(ThisItem.ID),
            vQuesHidden: true
        } ) )
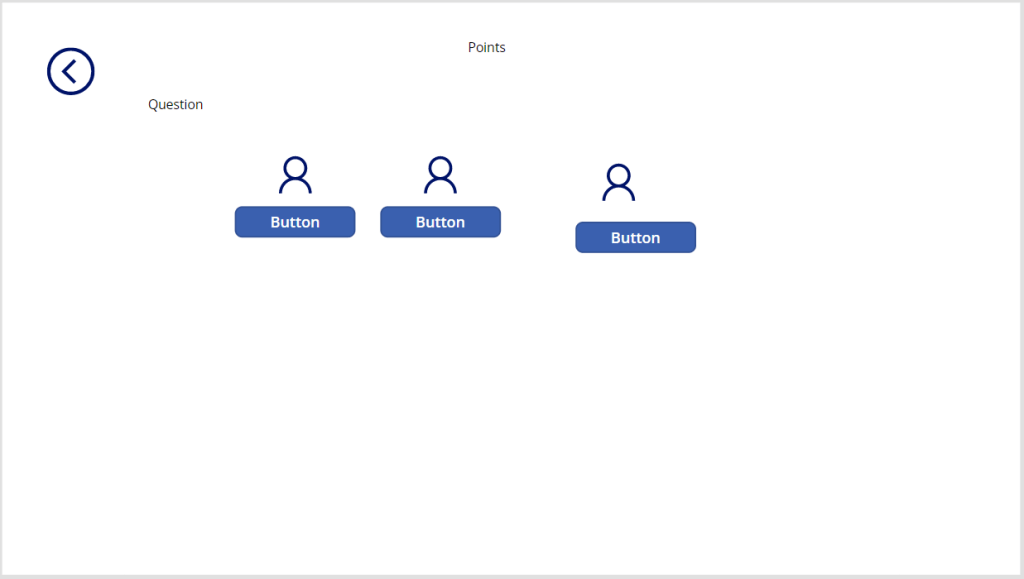
With the point board created, use another of the three screens to populate the contestant names. This screen should precede the points screen:

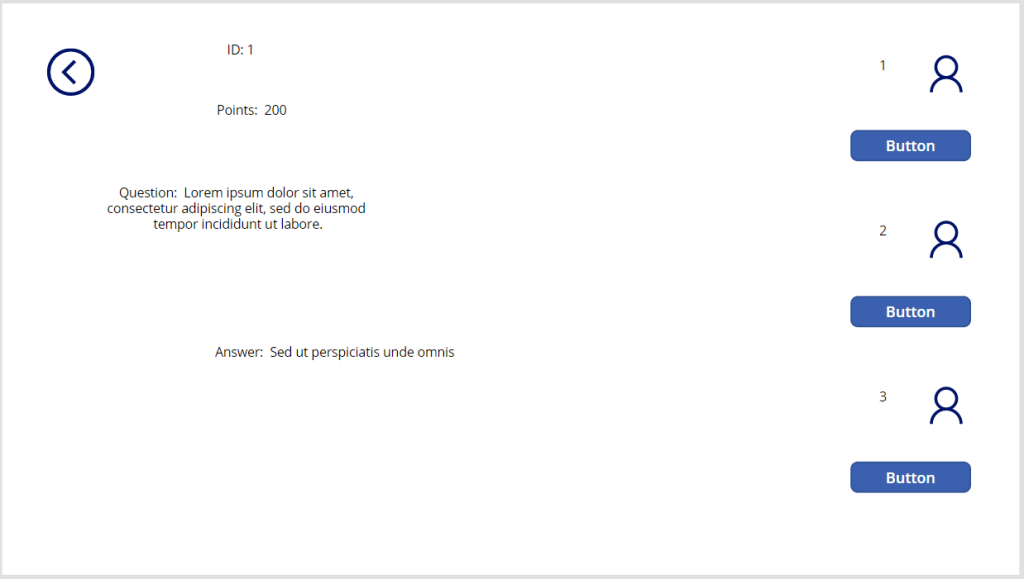
The final screen is the question and answer screen. It receives the previously passed variables and populates several labels. Use the vQuesID value to get the question and answer text, and the question point value. Use the vQuestHidden value to hide the answer label by default:
Not(vQuesHidden)
If a contestant gets the question correct, then click their button and award them the points, and return to the points board:
UpdateContext(
    { vPoints: Int( vPointsOfP01 ) + Int( lblValueOfPoints.Text ) }
);
Set(
    vPointsOfP01,
    vPoints
);
Back();
- E.g.
Logic of labels to output the question and answer:
$"{ First( Filter( listOf, ID = $"{vQuesID}" ) ).Question }"
$"{ First( Filter( listOf, ID = $"{vQuesID}" ) ).Answer }"
Finally, the foundation of the game is established. All that remains is prettying up the screens a bit. Add a title screen, a theme, and some icons to polish up things:

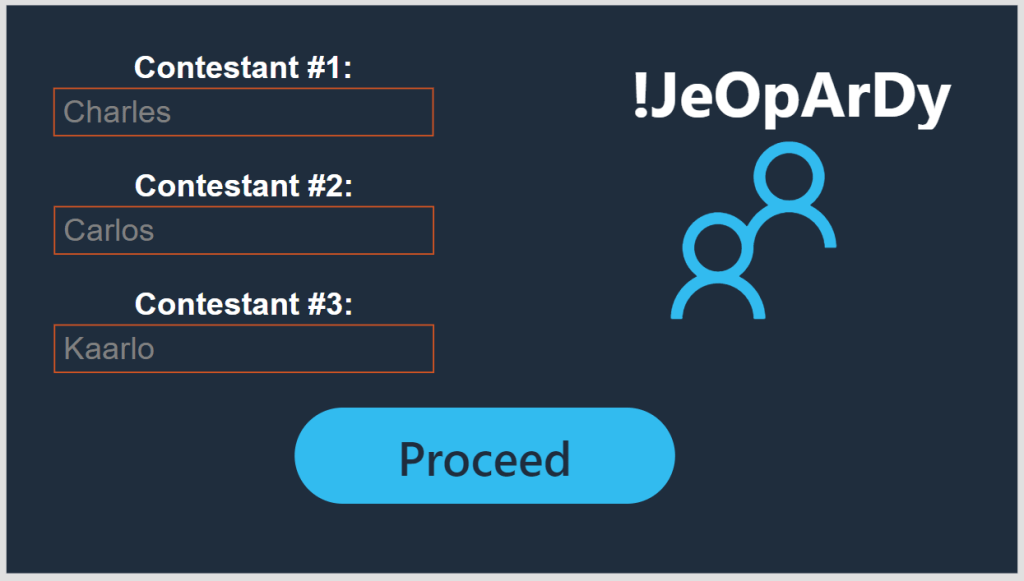


.
Conclusion:
Yes, Power Apps are ideal for business apps. But just as with other third-party apps, developers can build fun apps…
“If you are silent about your pain, they’ll kill you and say you enjoyed it.”
Zora Neale Hurston
#BlackLivesMatter

Pingback: Power Apps: Build a Game… !NeRdlE! | console.log('Charles');